Installation via AWS
In this document, you will perform the installation and configuration of instances via AWS, from accessing the console to obtaining the link to the DevPortal.
Prerequisites:
- Valid AWS account
- Access to AWS console
- Minimum network configuration and appropriate permissions
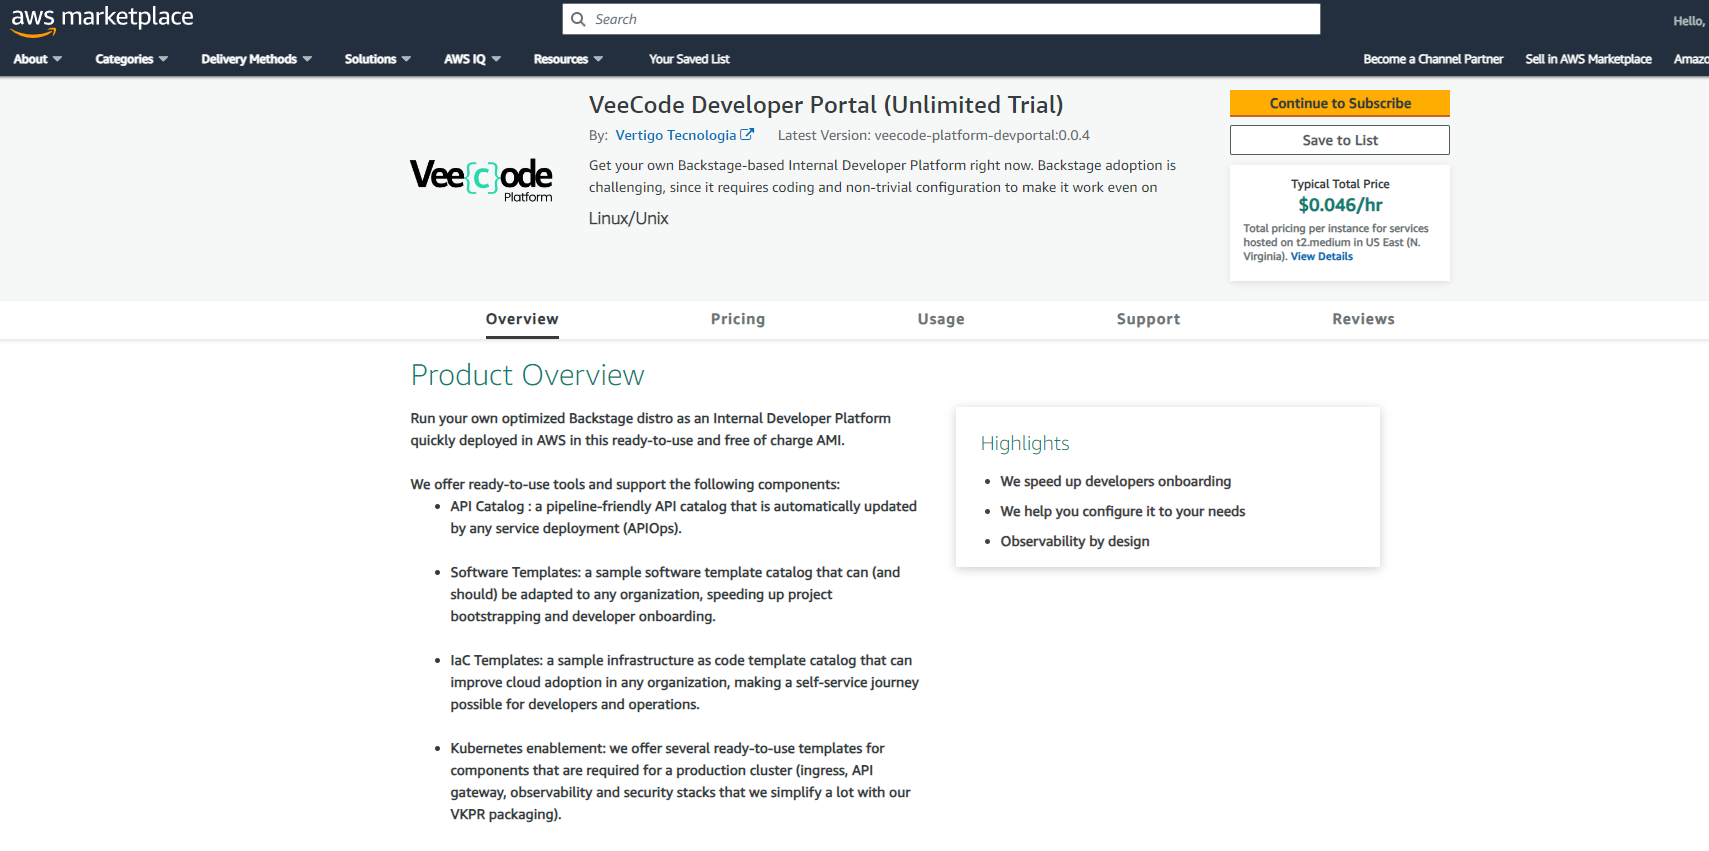
Step 1: Access the AWS Console
- Log in to your AWS account
- Navigate to the AWS Management Console
- Select the desired region
- Click on View purchase options to continue
- Accept the terms and conditions
- Click on Continue to configurations
Step 2: Configure the Software
- Select the Fulfillment option.
- Choose the Software version.
- Confirm the desired region.
- Click on Continue to Launch.
- Fill in the following information:
- Choose Action
- EC2 Instance Type
- VPC Settings
- Subnet Settings
- Security Group Settings
- Key Pair Settings
- Click on Launch to complete the setup.
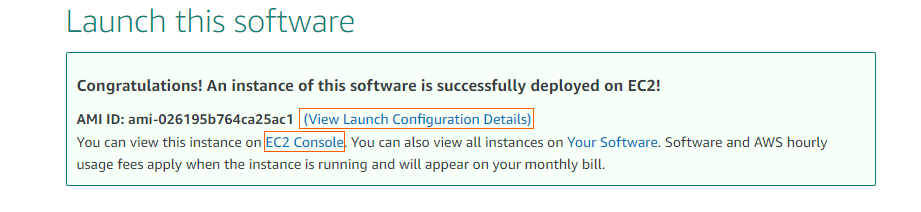
Step 3: Access the DevPortal
- Once done, click the "EC2 Console" link in the congratulatory message for instance creation or access the EC2 console
- Ensure the instance status is "Running" in the EC2 console
- Obtain the DevPortal access link through the instance's "Public IPv4 address" field
- Access the VeeCode platform using this link.